How to write an invoice
20 Dec 2019
Let’s face it: one of the best parts of running a business is seeing a payment pop up in your bank account.
But, in order to get those payments and experience that high, you have to send an invoice (which is essentially a request for payment).
If you’ve done any research into creating an invoice, you’ll know that there’s tons of advice out there that can make it confusing and overwhelming.
But it doesn’t have to be. In fact, putting together an invoice that gets you paid is actually pretty simple.
This article covers
How to create an invoice
While you can get creative with your invoices so they reflect your brand, you always want to make sure they look professional. You can do this by adding in your logo if you have one.
Aside from how your invoice looks, there are a few essential pieces of information you need to include.
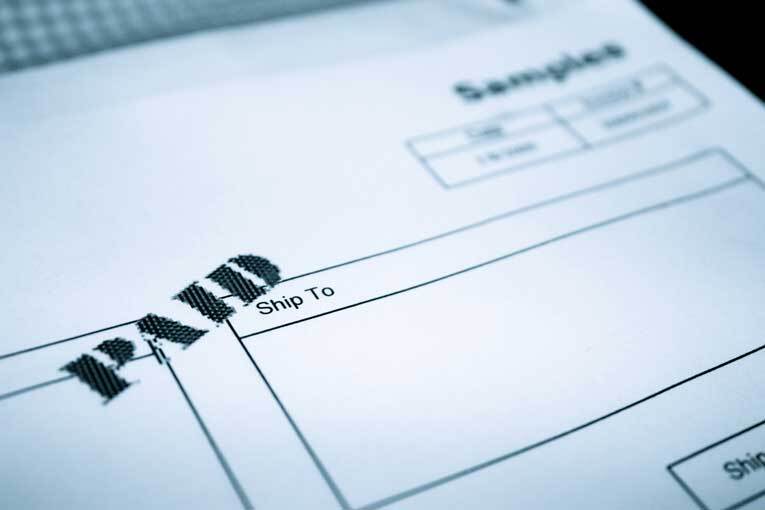
1. Mark your invoice
Include the word “Invoice” at the top of your invoice so that customers can quickly and easily see what the document is.
2. A unique invoice number
This helps you stay organised and helps with tracking for your tax returns.
Using sequential numbers makes it easier to find an invoice, so consider doing that.
3. Your company details
If your company has a name, you’ll need to include that on your invoices as well as your address and contact information.
If you’re self-employed, you can simply put down your name.
If you’re a limited company, you need to include the full company name as it appears on the certificate of incorporation, your registered address, and your company registration number.
Limited companies can choose to include the names of their directors on the invoice. However, if you do decide to add them, you’re obligated to then include the names of all directors.
If you’re a VAT registered company, you also need to include your VAT number.
4. Customer’s name and address
As well as your own name and address, you should put down the name of your customer and their address too.
5. Product or service descriptions
Next, you’ll need to lay out a clear description of the product or service your client is paying for. Include the quantity of each item and the price - the more details, the better, so the client knows exactly what they’re paying for.
6. Dates
You need to include both the date that the goods or services were supplied (this is commonly known and marked down as the supply date) and the date of the invoice.
7. Total amount owed
After the itemised list of products, you’ll need to include the total of all the goods or services you provided. If you provided any discounts, these should be subtracted from the total.
If you’re VAT registered, remember to include the amount of VAT being charged.
8. Payment terms
Before you supply the goods or services, you should have discussed payment terms with the customer which you’ll need to include on your invoice.
The terms will depend on your cashflow needs, your relationship with the client, and their creditworthiness.
You might decide that you want clients to pay in 14 days, or that you’d like payment within one month. Bear in mind that some businesses might pay later than the due date or have their own payment terms.
9. Payment details
This is where you’ll outline how the client can pay.
These days, most customers will look to pay by bank transfer, so be sure to include your bank details. You can also offer other payment methods, such as your PayPal address or a Stripe link.
How to create a VAT invoice
If you’re VAT registered, you need to send VAT invoices to your customers and clients. These require a little more information and are more detailed than the regular invoices we outlined above.
There are three different kinds of VAT invoice:
1. A full invoice
2. A modified invoice (over £250)
3. A Simplified invoice (under £250)
The information you include on each of these invoices will depend on the type of invoice you’re sending. You can find out more information about this here.
For the most part, VAT invoices generally require the same information as regular invoices, with the key addition of:
- Your VAT registration number
- The tax point if it’s different from the invoice date
- The VAT rate and the total VAT charge
Make creating invoices easier: invoice software
Some individuals and businesses create their own invoices from scratch. The creations tend to be simple and there’s no need for them to be flashy - as long as they have all the information required, you’re good to go.
Remember here that your invoices have one aim: to get you paid.
If you want to create your own invoice, there are plenty of free invoice templates in Word, Excel, and Google Docs for you to play around with.
However, if you do decide to go this route, we recommend you use a template with embedded formulas to minimise any calculation errors, and remember to always check that the total payment is correct.
In most cases, it’s a good idea to use cloud based accounting software to help you map out an attractive invoice with all the right information.
Alternatively, you can use dedicated invoice software that’s specifically for creating detailed invoices and tracking them (we’re talking about tools like Zoho Invoice, Invoicely, and InvoiceBerry here).
There are a number of free options available, especially if you only issue a handful of invoices each month.
If you need convincing, here are two major advantages to using accounting software or dedicated invoicing software:
- You can be sure there won’t be any calculation errors when totalling up the overall payment
- Your invoices will be stored in the cloud.
Remember, if you are VAT registered, you are required to use accounting software as part of the government’s “Making Tax Digital” initiative - you can find out more about that in this article.
Are you ready to invoice?
Invoices are an important part of business.
Putting together an effective and professional invoice doesn’t have to be hard though, especially if you know what you need to include.
Follow our tips here and you’ll start seeing payments pop up in your bank account in no time at all.